So I was at a craft sale over the weekend and a woman was selling bags that were made from old feed sacks. She was selling them for $8 each! Can you believe that? So I decided to try and make my own and its ridiculously easy! This tutorial has lots of pictures (Makes it easier to understand!) I made one from a cat food bag and one from a dog food bag. The first is the cat food sack. I told my daughter this was her gathering bag for when we plant a garden. Now she has something to put the things she picks in, instead of using one of our reusable grocery sacks, and she is so ready for us to get our garden going!
So here goes! (feedback is always welcome!)
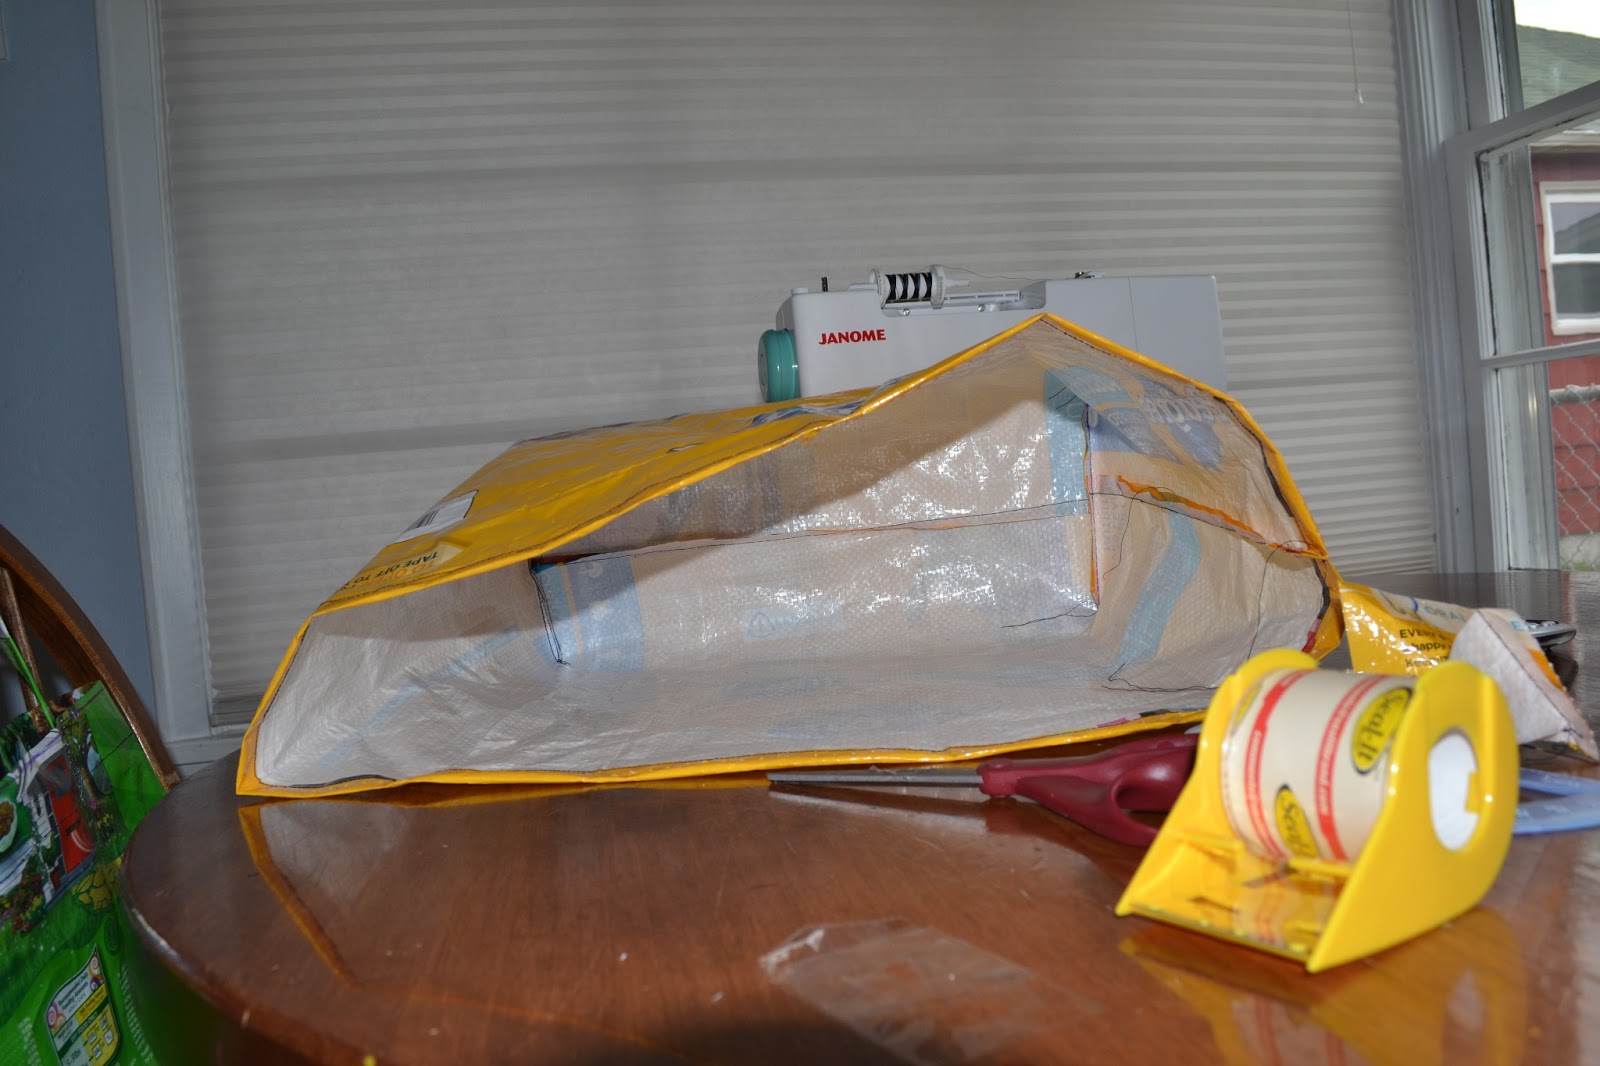
First off gather your supplies!
Scissors
Clear box tape
Sharpie marker
Ruler (I love my omnigrid 3 inch wide ruler. Truly an awesome ruler. you can order them online or get them at a local fabric/craft store)
Feed bag (Can be cat, dog, horse whatever as long as it is that woven plastic)
Post it flags (optional)
Now lets get started!
OK first off these cat food bags are folded over at the bottom. I marked 2 inch's from the bottom of the bag so that I accounted for the bottom "gusset" (when you open it up the bottom will be flat) I then marked the 14 and 16 inch spots. (the bag will be 12 inches tall when it all said and done)
At the 14 inch mark, draw a line across the bag, and at the 16 inch mark draw another line across the bag.
Cut along the 16 inch line.

Fold over at the 14 inch line. Its not gonna be perfect but once you get it under your presser foot on your sewing machine I will get a little easier.
Holding the fold in place, stitch with the edge running along the left side of your presser foot. Stitch all the way around the bag.
Inside stitch
Outside stitch (excuse the back stitching you see)
Remember the top part of the bag you cut off. I hope you didn't throw it out! This is what the straps are made from! Measure a 3 inch wide strip (that's how wide my ruler is)
Then cut!
The strip has a spot where the manufacture glued it. Find it and peel it apart so that it is nice and long.
Turns out I only needed 1 of these to make both handles for the bag :-D
Take the strip and make a tri-fold so that the sides overlap (Like you see in the image.)
Get it under your presser-foot and start stitching. I used a zigzag stitch (I wanted to make sure I caught both edges under my stitch) You can use a straight stitch as well.

You will have one long strip all stitched together.
Take the strip and fold it in half
Cut it at the fold mark
Now you have your handles!

Measure across the top opening of the bag. this one is just over 14 inches wide. You need to measure in 1/3 and 2/3 of the total bag width. I eyeballed it and it ended up being 10in and 4in. Mark at these spots. You can put your strap under the top lip of the bag stand back and look and see if its even.
Follow your mark and mark on the inside of the bag as well. This will make it easier to line up the straps.
So what I did is made sure that seam in my strap is right on the marked spot. This ensured me that they would be balanced. (There is allot of eyeballing in this I know, but I made this up as I went along)
Line the edge of the bag up with the right side of your presser foot and stitch. You will be stitching a square with an X through the middle. Do this on all 4 spots where the straps are on the bag.
As you stitch along your going to have to roll the bag up and fold it in some weird ways to get it to fit through your machine. It will work. Have no fear!
Once you finish sewing the straps on, you are DONE! Mission accomplished. I did reinforce the corners on the bottom of the bag with some clear packing tape. Below is how I did that. Its pretty self explanatory and the pictures explain it all.
Now when I worked on the dog bag, I did things a little differently. The dog food bag I had was a 52lb bag. Its HUGE!! So I had to work with it differently.
Notice how the bottom of the bag looks? You will need to remove the blue stitched piece so that the bag is a big tube.
After removing the stitching find the seam that is glued and pull it apart.
Now you have one big flat piece.
Since this bag is so large I folded it in half and then cut it down the fold so that I had two pieces.
On one piece I used my ruler and drew a line 1 inch wide.
Fold over at this line and stitch with the left side of your presser foot on the edge of the materiel.
Fold the bag in half and stitch along where the glue the manufacture used is. Its fain but you will be able to find it. Cut away the excess.
Next sew the bottom of the bag, keeping the edges aligned.
Heres what it looks like so far.
Now here is where it got tricky for me. Fold the side of the bag in. You want your bottom seam and your side seam to align.
I used a protractor and used the width (6 inch's) to get the triangle. So just move your ruler down till you get 6 inch's across. (This could be different for a smaller bag. You will need to adjust accordingly.)
Stitch along this line
So on the other side you are going to repeat the process. The only thing is there is not actually a stitched seam to align to the bottom seam. You will need to find the middle, mark it and line it up to the bottom seam.
See how I folded the side in then kinda folded it in half? This helped me find that middle :-)

Once you have both sides stitched, cut off the excess.
This is what your bag should look like. at this point
Flip the bag right side out.
Now on this I did the same thing. I used the tape to reinforce the gusset seams.
Once you have done that you are ready for straps! Repeat the steps as you saw with the cat food bag to get the straps. I haven't finished the dog food ones yet as I haven't had time! I will add those pictures later :-)
But that's it! So easy right? And now you have bags you can use for anything! I swear we pay enough for pet food and for just a small amount of effort we can get a little bit extra for our money!